Schlacht am Majuba Hill

The Transvaal War, The Battle of Majuba Hill
The British defensive line at the Battle of Majuba Hill.

Bullet wound General Collections Keywords: Radiology; Roentgen

Foto van oorlog

George Pomeroy Colley brit főparancsnok a Majuba-hegyi csatában, az első búr háborúban, röviddel halála előtt.

Majuba Hill seen from Laing's Nek, Natal, South Africa

Climbing Majuba Hill. Seen from the North, Natal, South Africa

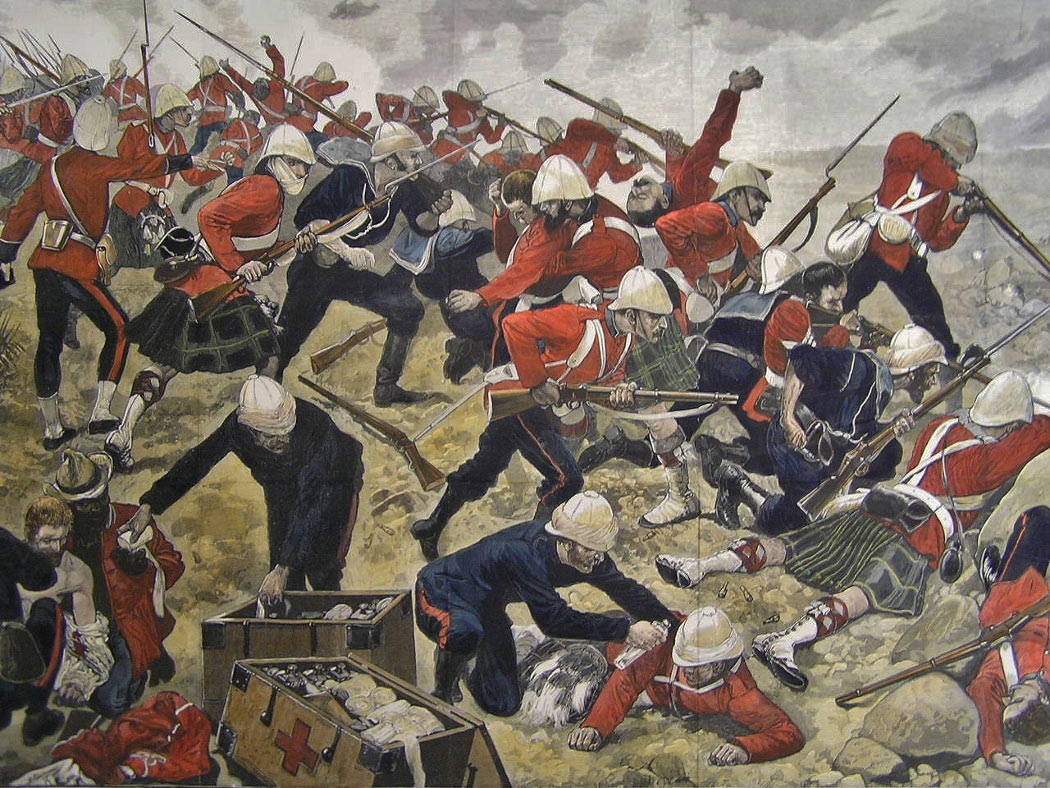
The Transvaal War: General Sir George Colley at the Battle of Majuba Mountain Just Before He Was Killed. Includes attached article.

The Transvaal War: General Sir George Colley at the Battle of Majuba Mountain Just Before He Was Killed. Includes attached article.

The Transvaal War: General Sir George Colley at the Battle of Majuba Mountain Just Before He Was Killed. See File:Melton Prior - Illustrated London News - The Transvaal War - General Sir George Colley at the Battle of Majuba Mountain Just Before He Was Killed original.jpg for attached article.

The Transvaal War: General Sir George Colley at the Battle of Majuba Mountain Just Before He Was Killed. See File:Melton Prior - Illustrated London News - The Transvaal War - General Sir George Colley at the Battle of Majuba Mountain Just Before He Was Killed original.jpg for attached article.
Title: The Transvaal war: General Sir George Colley at the Battle of Majuba Mountain just before he was killed / W.J.P. sc. Abstract/medium: 1 print : wood engraving.
Historische Übersicht
Entscheidender Sieg der Buren im 1. Krieg; bewies ihre überlegene Schießkunst.
Fakten auf einen Blick
Buren-Republiken
- Befehlshaber: Piet Joubert
- Truppenstärke: ca. 450
- Verluste: ca. 5
Königreich Großbritannien
- Befehlshaber: George Colley †
- Truppenstärke: ca. 650
- Verluste: ca. 280
Strategischer Kontext
Versuch der Briten, die Unabhängigkeit der Burenrepubliken zu beenden.
Weiterführende Literatur


Historische Orte
Die interaktive Karte erfordert die Zustimmung zu Drittanbieter-Cookies.